How to set up ticketing for an event?
In this blog post we'll guide you through some of the basics in setting up an event. In this case a two day B2B event with 2 day tickets, a combi ticket and a custom field.
Step 1: create an account
If you haven't already, then you should start with creating a Pierrot account. While you're at it you might also set up a Mollie account if necessary. We use Mollie to accept bank and credit card payments, it functions a bit as your bank.
Don't wait too long with creating a Mollie account as the procedure to get verified can take longer then we you wish.
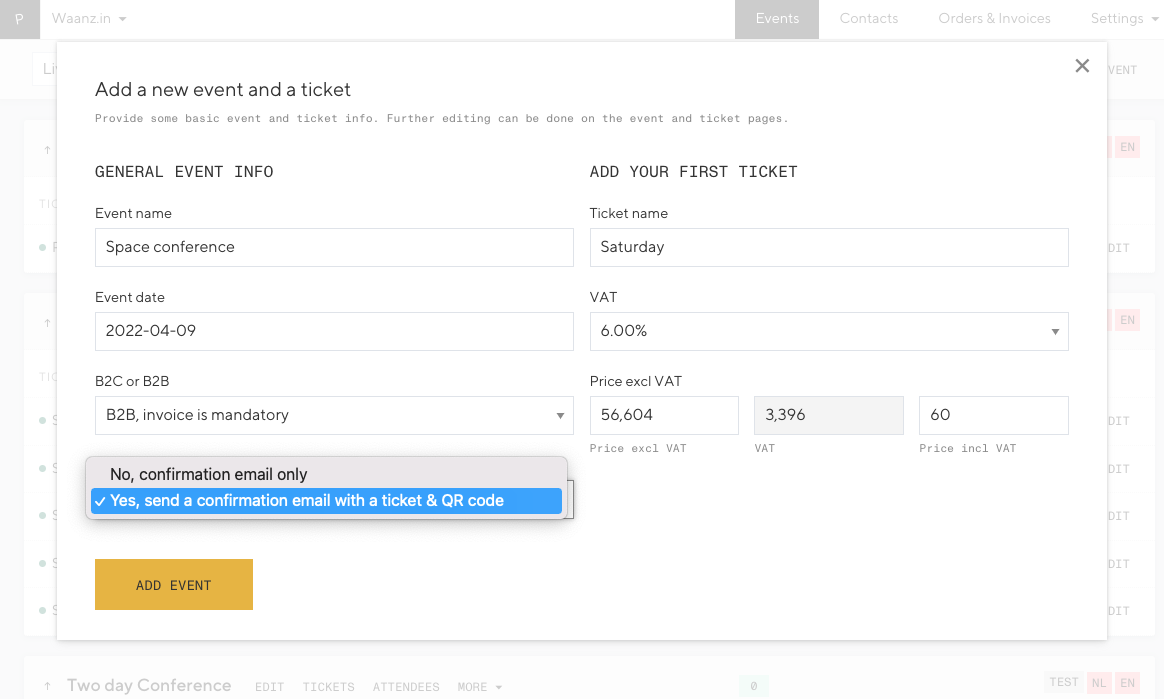
Step 2: create your event
Create your first event and enter some basics like the date, type of event and whether or not your guests should receive a QR code. You can also add a first ticket.
Step 3: finetune the event settings
Next you can update the settings of your event. Enable specific languages, fill in the confirmation messages, add a header image and much more.
You'll also notice that the event is in test mode by default. Test mode means you can only see the registration form when you are logged in. The form then also uses a test payment, so you can safely check the entire registration flow.
Step 4: configure your tickets
Off course you can add more than 1 ticket. The video below shows you how to create a combi ticket.
Step 5: a small extra
In this step we add a custom field to the form where your guests can (optionally) add a Purchase Order Number to their invoice.
You may have noticed that we enabled "invoice before payment" in step 3. This a nifty feature made for B2B clients that need approvement from their financial department to do a payment. This features gives your guests the option to book tickets that they can pay after receiving the invoice (so no online payment).
By default a Pierrot form asks for a first name, last name and email address. For paying B2B events your guests will also have to add the name of their company, a VAT number, their address and an email address to send the invoice to. But you can add as many fields to the form as you wish via the Custom Fields tab.
Custom fields can be added to the regular (attendee) fields as well. For example if you want to know the Date of Birth of your guests, you can add a field through our Custom Fields module.
Step 6: ready!
Yes, now we can test the form and do a test payment! Don't forget to put your event live when you're happy with everything!
Need help with it? Let us know!